
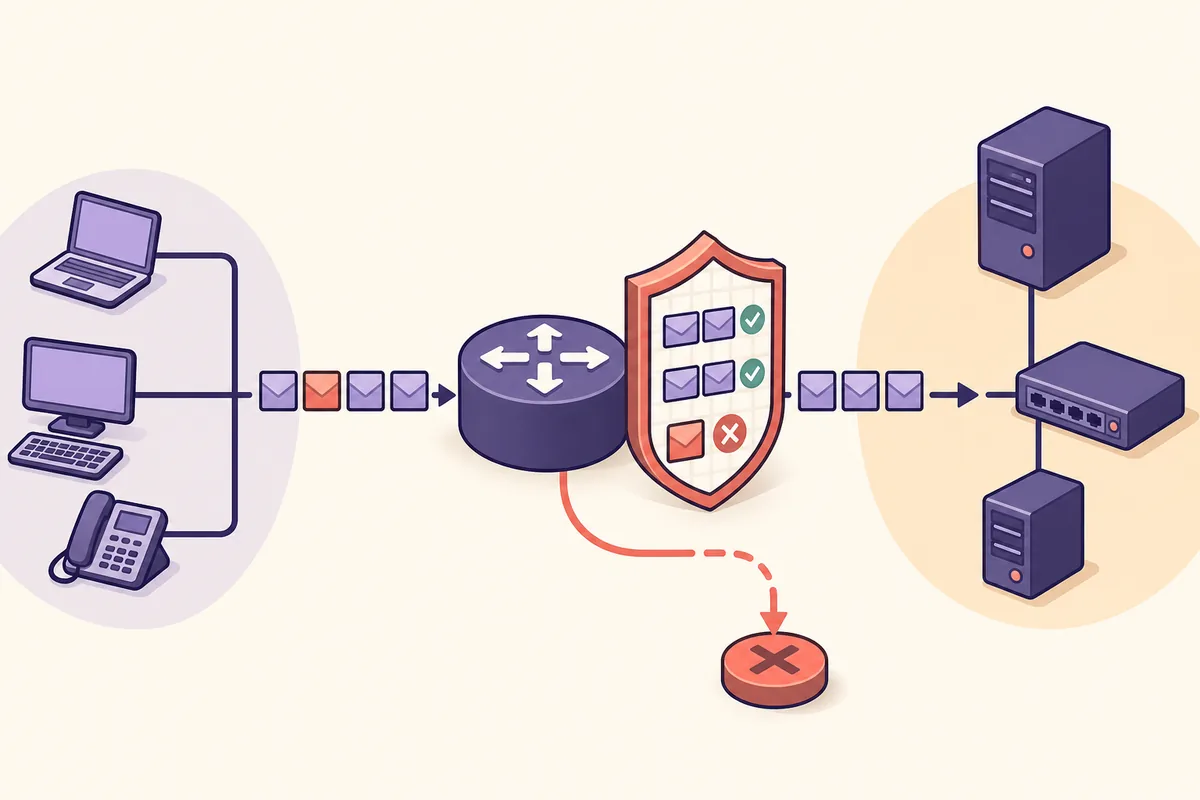
ACL lab at a glance
- Primary task
- Configure and verify standard and extended IPv4 ACLs
- Example topology
- Two client networks, one router, and one server network
- Key commands
- access-list, ip access-group, show access-lists
- Critical behavior
- Every ACL ends with an implicit deny
- Latest release check
- Packet Tracer 9.0.1; no newer verifiable public release found
- Official download
- Cisco Networking Academy Resource Hub
Plan the ACL policy and lab before typing commands
Build a small routed lab with Client-A on 192.168.10.0/24, Client-B on 192.168.20.0/24, and Server-1 on 192.168.30.10/24. Connect the three networks to router R1, assign the router addresses 192.168.10.1, 192.168.20.1, and 192.168.30.1, and confirm that all devices can ping before applying an ACL. Starting from a working baseline separates ACL mistakes from cable, interface, addressing, or routing faults.
Write the policy in plain language: Client-A may reach the server network, Client-B must not reach Server-1, and other traffic should remain available unless the exercise says otherwise. Record source, destination, protocol, port, interface, direction, and expected result for every test. An ACL is easier to debug when each command can be traced back to one written requirement.
- 1
Build and address
Create the three networks and enable every router interface.
- 2
Prove the baseline
Ping across all networks before filtering traffic.
- 3
Write expected results
List which source, destination, and service must pass or fail.
- 4
Save a clean copy
Keep a pre-ACL PKT file so you can compare behavior.
Compare standard and extended ACL examples in Packet Tracer
A standard IPv4 ACL matches the source address only. It is useful when the decision is simply whether one source network may reach a destination area. Because it cannot distinguish destination or application, place it close to the destination so it does not block the source from unrelated networks.
An extended IPv4 ACL can match source, destination, protocol, and TCP or UDP ports. It is better for requirements such as allowing web access while denying ICMP or blocking one client from one server. Place extended ACLs close to the source so unwanted traffic is discarded before it crosses extra links.
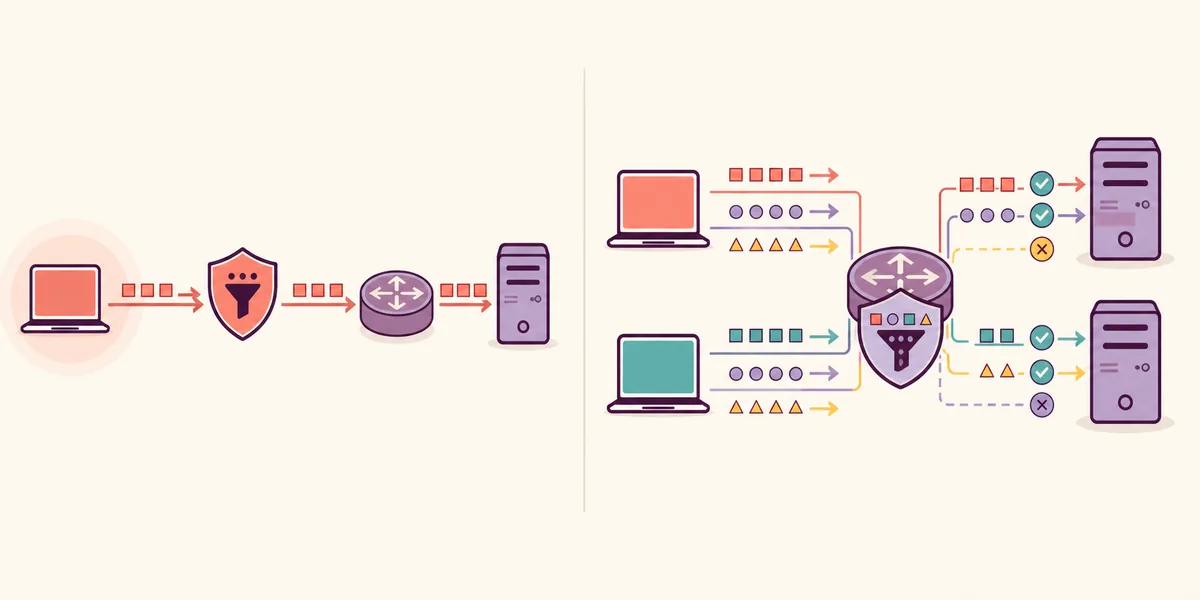
| ACL type | Matches | Typical placement | Best example |
|---|---|---|---|
| Standard numbered | Source IPv4 address | Near the destination | Block one client network from a protected LAN |
| Standard named | Source IPv4 address | Near the destination | Readable source-based policy |
| Extended numbered | Protocol, source, destination, port | Near the source | Permit web traffic but deny ping |
| Extended named | Protocol, source, destination, port | Near the source | Readable service-specific policy |
Standard ACL example: block one source network
Use a standard ACL when the requirement is to prevent Client-B's 192.168.20.0/24 network from reaching the server LAN while allowing other sources. In global configuration mode, enter access-list 10 deny 192.168.20.0 0.0.0.255, then access-list 10 permit any. The explicit permit is essential because the invisible final rule denies anything that did not match earlier lines.
Apply list 10 outbound on the interface leading to 192.168.30.0/24 with interface g0/2 and ip access-group 10 out. This location lets Client-B reach other networks while filtering packets only as they leave R1 for the protected server LAN. Adapt the interface name to the router model shown in your Packet Tracer file.
- 1
Create the deny
Deny source network 192.168.20.0 with wildcard 0.0.0.255.
- 2
Permit remaining sources
Add permit any before the implicit deny.
- 3
Apply near destination
Bind ACL 10 outbound on the server-LAN interface.
- 4
Test both clients
Client-B should fail; Client-A should still reach Server-1.
If both clients fail, check for a missing permit statement, the wrong interface, or the wrong direction before rewriting the address.
Extended ACL example: allow web and deny ping
For a more precise rule, allow Client-A's network to use HTTP on Server-1 but deny ICMP echo traffic to that host. One numbered example is access-list 110 permit tcp 192.168.10.0 0.0.0.255 host 192.168.30.10 eq 80, followed by access-list 110 deny icmp 192.168.10.0 0.0.0.255 host 192.168.30.10 echo. Add access-list 110 permit ip any any only when the written policy says other IP traffic should continue.
Apply ACL 110 inbound on the R1 interface connected to 192.168.10.0/24. Close-to-source placement prevents denied traffic from crossing the router unnecessarily. If the lab also tests HTTPS, add an explicit TCP port 443 rule before any broader deny. ACL lines are evaluated from top to bottom, and the first match ends the decision.
- 1
Permit the required service
Place the specific TCP destination-port rule first.
- 2
Deny the named traffic
Match the required ICMP type or other prohibited service.
- 3
Decide the remainder
Use a final explicit permit only when the policy requires it.
- 4
Apply inbound near source
Bind the ACL to the client-facing interface and test again.
Calculate wildcard masks and choose direction correctly
A wildcard mask is the inverse of the subnet mask for common contiguous networks. Subtract each subnet-mask octet from 255: 255.255.255.0 becomes 0.0.0.255, while 255.255.255.192 becomes 0.0.0.63. A zero bit must match; a one bit may vary. Use host 192.168.30.10 when only one address should match and any when all addresses are intended.
Interface direction is viewed from the router. Inbound means packets entering the router through that interface; outbound means packets leaving it. Trace one test packet with your finger from source to destination and identify where it enters and exits R1. Many correct ACL commands fail only because they are attached in the opposite direction.
| Network or host | Subnet mask | Wildcard | Useful syntax |
|---|---|---|---|
| 192.168.10.0/24 | 255.255.255.0 | 0.0.0.255 | 192.168.10.0 0.0.0.255 |
| 192.168.20.64/26 | 255.255.255.192 | 0.0.0.63 | 192.168.20.64 0.0.0.63 |
| 192.168.30.10/32 | 255.255.255.255 | 0.0.0.0 | host 192.168.30.10 |
| Every IPv4 address | n/a | 255.255.255.255 | any |
Verify permitted and denied traffic in Packet Tracer
Run at least one positive and one negative test for every policy line. A single failed ping proves only that something failed; it does not prove the intended ACL rule caused the failure. Test Client-A to Server-1, Client-B to Server-1, and both clients to an unrelated destination. For service-specific rules, use the server's HTTP service or another matching application instead of relying only on ping.
On R1, use show access-lists to confirm rule order and match counters, show ip interface to see which ACL is applied inbound or outbound, and show running-config to inspect the saved syntax. Packet Tracer Simulation mode can filter ARP, ICMP, TCP, and HTTP events so you can watch where a packet stops.
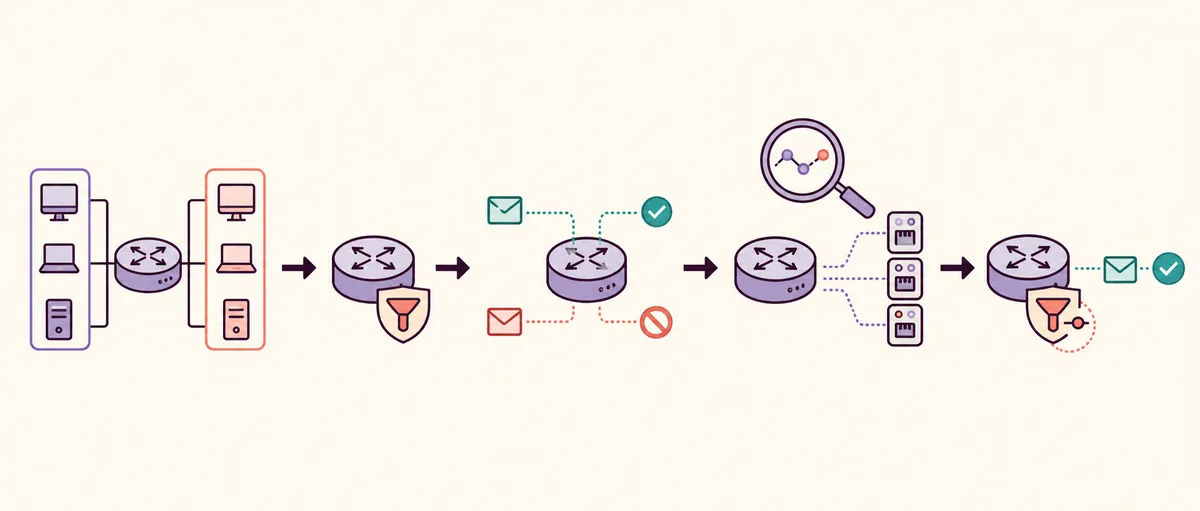
- Confirm the baseline still works for traffic the ACL should permit.
- Use a denied test that matches the exact source, destination, protocol, and port.
- Check counters after each test so you know which line matched.
- Save the configuration only after the evidence matches the written policy.
Troubleshoot ACL order, placement, and implicit deny
Start outside the ACL: verify cable state, interface status, IPv4 addresses, masks, gateways, and routes. Then confirm the access list exists, read it top to bottom, and check the interface and direction. Look for a broad permit or deny above a specific rule, a wildcard that covers the wrong range, a TCP/UDP port on the wrong side of the command, or a missing permit before the implicit deny.
Change one condition at a time and repeat the same tests. If counters stay at zero, traffic is not reaching that rule or it matches an earlier line. If counters increase on the wrong rule, fix order or match criteria. Remove an applied ACL carefully with no ip access-group 10 out or the corresponding list and direction, then edit the policy and reapply it rather than stacking random commands.
Packet Tracer ACL FAQ
Why does my Packet Tracer ACL block everything?
The usual cause is the implicit deny combined with a missing explicit permit, an overly broad deny, or the ACL applied on the wrong interface or direction.
Where should I place a standard ACL?
Normally place a standard ACL close to the destination because it matches only the source and could otherwise block that source from unrelated destinations.
Where should I place an extended ACL?
Normally place an extended ACL close to the source so unwanted protocol or service traffic is dropped before crossing more of the network.
How do I check which ACL line matched?
Run show access-lists after a controlled test and compare the match counters with the rule you expected to handle the packet.
Can an ACL filter ping in Packet Tracer?
Yes. An extended ACL can permit or deny ICMP and specific ICMP types. Test other services separately because blocking ping does not necessarily block TCP or UDP.
Should I use numbered or named ACLs?
Both work. Named ACLs are easier to read and edit in larger labs, while numbered ACLs are concise for small examples and exams that specify a number.
Official references
- Cisco access-list configuration guidance
Cisco reference for standard and extended IP access-list behavior and configuration.
- Cisco Packet Tracer 9.0 announcement
Cisco Community release announcement dated July 14, 2026.
- Cisco Packet Tracer download resources
Official Resource Hub used to confirm the current package after sign-in.