Beginner tutorial at a glance
- Time needed
- About 20–30 minutes
- Topology
- Two PCs connected to one switch
- Address plan
- 192.168.10.10/24 and 192.168.10.20/24
- Success test
- Ping succeeds in both directions
- Modes used
- Realtime for configuration; Simulation for inspection
- Next step
- Repeat without notes, then continue to structured labs
Understand the Packet Tracer workspace before clicking
Packet Tracer separates device selection, the logical workspace, device configuration windows, and Realtime or Simulation controls. Identify these areas before dragging equipment so you know where to build, configure, and observe.
Keep the first exercise deliberately small. A two-PC switched LAN teaches placement, cabling, addressing, command testing, saving, and packet inspection. Do not add a router yet because hosts in the same IPv4 subnet communicate through the switch without a default gateway.
Build your first Packet Tracer network step by step
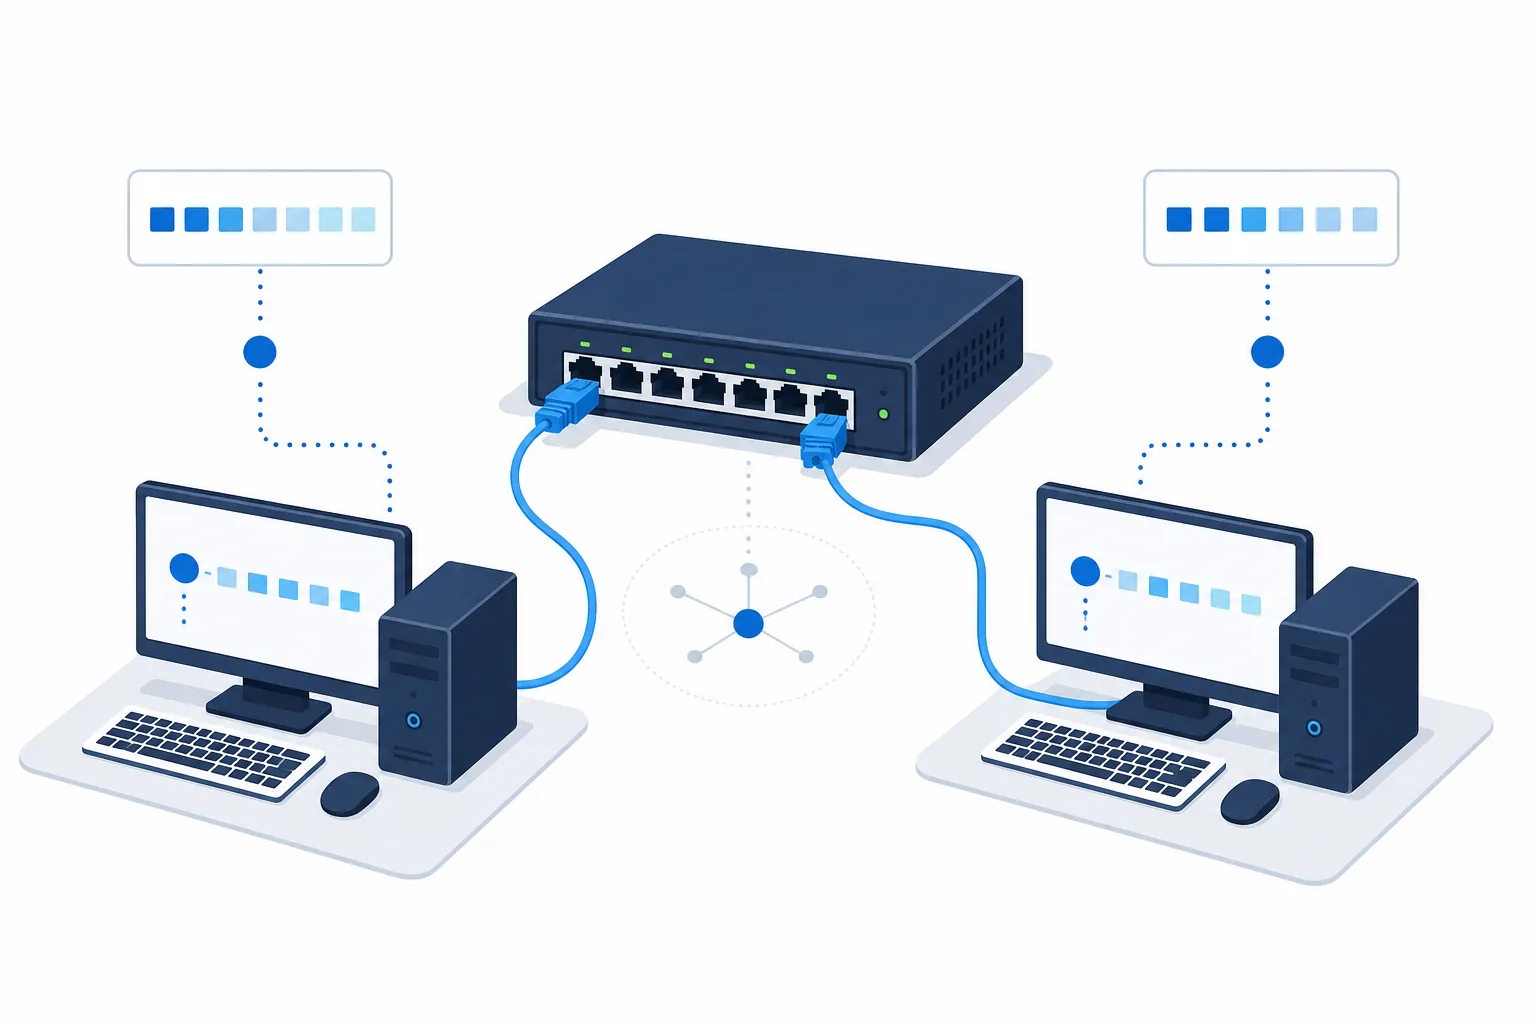
Create a blank file, place one switch between two PCs, and connect each PC FastEthernet interface to a separate switch port with a copper straight-through cable. Wait for link indicators to settle before diagnosing addresses.
- 1
Create a blank project
Create a blank project
- 2
Place two PCs and one switch
Place two PCs and one switch
- 3
Connect separate switch ports
Connect separate switch ports
- 4
Wait for active links
Wait for active links
- 5
Save a clean PKT baseline
Save a clean PKT baseline
Assign IPv4 addresses in the same subnet
Open Desktop > IP Configuration. Give PC-A 192.168.10.10 and PC-B 192.168.10.20. Use 255.255.255.0 on both and leave the gateway empty for this single-subnet exercise.
Addresses must be unique and share 192.168.10.0/24. A duplicate address, different mask, or accidental 192.168.1.x entry will make the test fail.
| Device | IPv4 address | Subnet mask | Gateway |
|---|---|---|---|
| PC-A | 192.168.10.10 | 255.255.255.0 | Not required |
| PC-B | 192.168.10.20 | 255.255.255.0 | Not required |
Test the network with ping
On PC-A run ping 192.168.10.20, then test the reverse direction. The first attempt may wait while ARP resolves the destination hardware address.
A successful ping proves that interfaces are active, IPv4 settings are compatible, and the switch forwards frames. Save this working baseline before experimenting.
Use Simulation mode to see packet flow
Switch to Simulation and filter the event list to ARP and ICMP when possible. Step through the events to see address resolution before the ICMP echo request and reply.
Use Simulation to answer one question at a time. Enabling every protocol creates noise and makes the learning sequence harder to follow.
Troubleshoot a failed first network in order
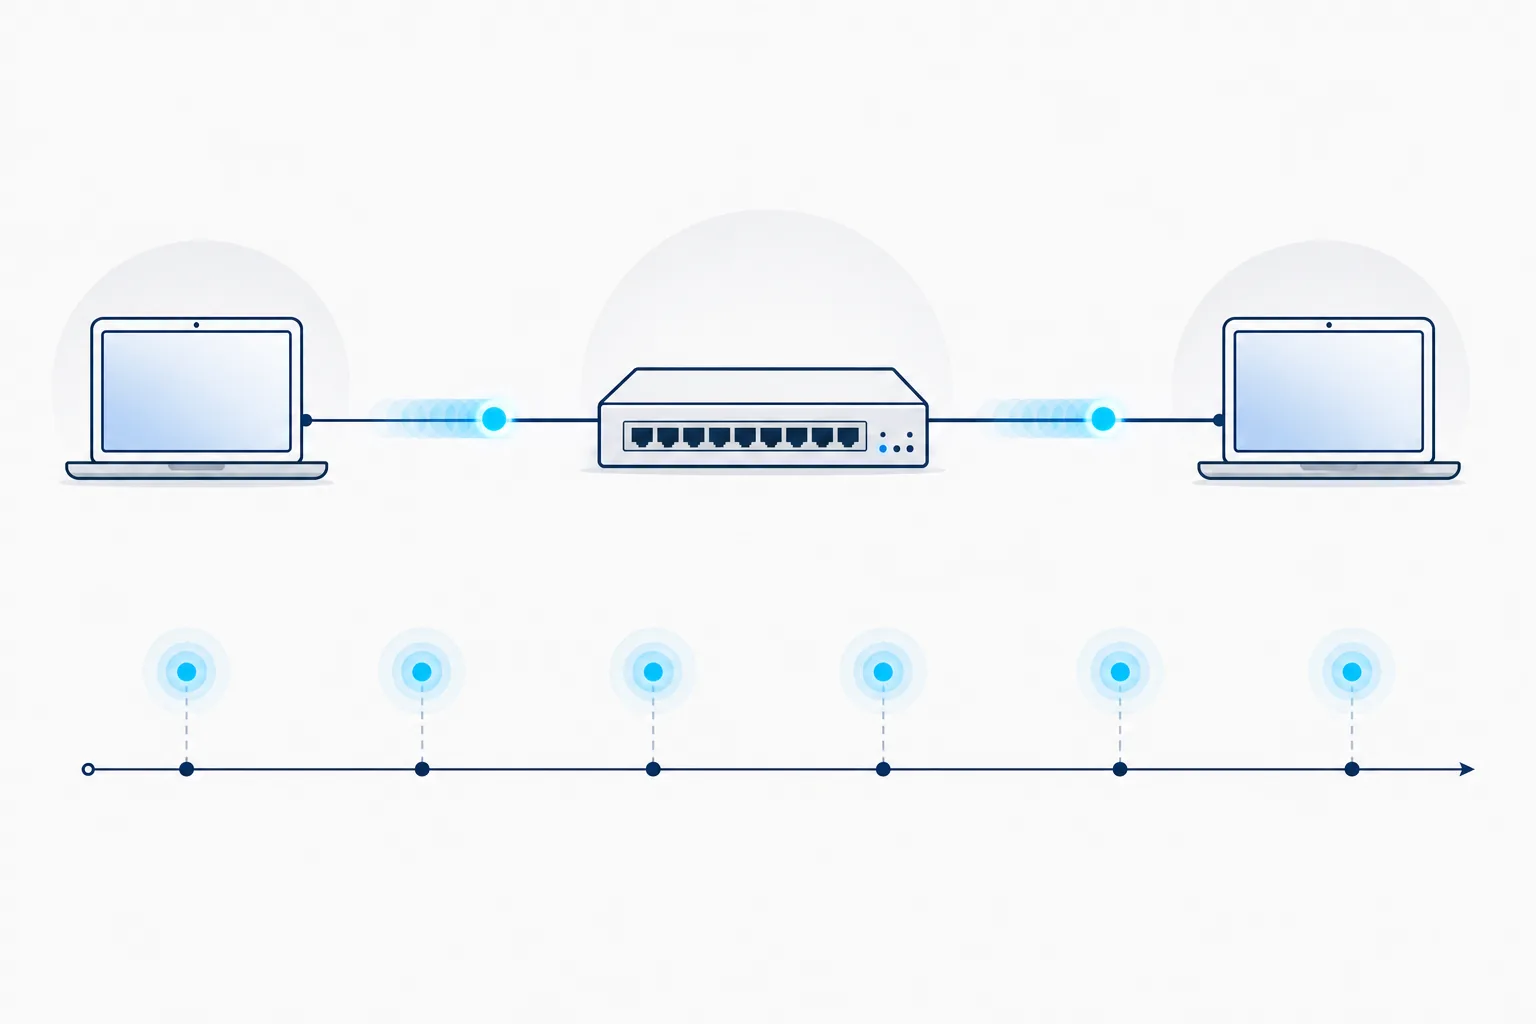
Check the physical path first, then interface state, addressing, and finally the application test. Compare both PCs side by side for cable endpoints, port lights, unique addresses, and matching masks.
Create one controlled fault: change PC-B to 192.168.20.20, confirm ping fails, explain why the hosts are in different subnets, and restore the correct address.
Save, document, and repeat the lab
Save more than one checkpoint. Keep a blank topology, an addressed and working topology, and a troubleshooting copy. Clear filenames such as first-lan-blank.pkt, first-lan-working.pkt, and first-lan-broken-mask.pkt make it easy to return to a known state. Saving after every random click makes the learning history harder to understand, so save at meaningful milestones instead.
Add short device labels and keep a simple worksheet beside the file. Record each interface, its IPv4 address, subnet mask, expected neighbor, and the command used to verify it. Before clicking ping, write down whether you expect success and why. Comparing the prediction with the result turns Packet Tracer from a drawing tool into a networking experiment.
Repeat the exercise with one variable changed at a time. Replace the switch port, shut an interface, duplicate an address, or change one subnet mask. Predict the symptom, observe it in Realtime, then use Simulation to locate where forwarding stops. Restore the working checkpoint after each experiment so faults do not accumulate.
When the workflow feels comfortable, build the same LAN using different addresses such as 10.10.10.10/24 and 10.10.10.20/24. The exact numbers are less important than recognizing the network portion, keeping host addresses unique, and selecting a test that proves the intended communication.
Read interface and test clues instead of guessing
Link color and timing are clues, not final proof. A cable can be connected while the host still has the wrong address, and a correct address cannot compensate for a disabled interface. Treat each observation as evidence for one layer of the path.
Use the PC command prompt to inspect configuration as well as ping. Compare the displayed IPv4 address and mask with the worksheet, then test the local address before the remote host. If a local check works but the remote ping fails, focus on the link, peer settings, and subnet relationship.
Avoid changing several settings at once. Multiple simultaneous changes may make the ping succeed, but they hide which correction solved the problem. A disciplined beginner records one change, one expected effect, and one observed result.
End each troubleshooting pass by returning to the saved working file and repeating the same test. A fix is trustworthy only when the expected result can be reproduced, not when one packet happens to succeed after several uncontrolled changes.
What to learn after this tutorial
Rebuild the topology from memory, label devices, save a clean checkpoint, and document expected versus actual results. Then add a router and second subnet one change at a time.
Continue with the Packet Tracer labs practice guide. Use the official-source download and update guides instead of unverified mirrors.
- Rebuild without notes
- Add one router and a second subnet
- Document expected and actual results
Cisco Packet Tracer tutorial FAQ
Is Packet Tracer difficult for beginners?
No. Start with two PCs and one switch and verify one change at a time.
Do I need a router for the first network?
No. Hosts in the same subnet communicate through the switch.
Why is the first ping slower or unsuccessful?
ARP may run first; also verify links, IP addresses, and masks.
Realtime or Simulation mode?
Realtime runs continuously; Simulation lets you inspect events step by step.
Where should I download Packet Tracer?
Use Cisco Networking Academy Resource Hub and avoid unverified mirrors.
What should I practice next?
Add routing, VLANs, DHCP, DNS, and ACLs in separate labs.
Official learning and download sources
- Cisco Packet Tracer
Cisco Networking Academy product and learning overview.
- Cisco Networking Academy Resource Hub
Official current package and lab resource access.